Insights
How to Prepare Your Home for Professional Real Estate Photography
A room-by-room checklist that gets a home camera-ready, so the shoot runs fast and the gallery looks its best.
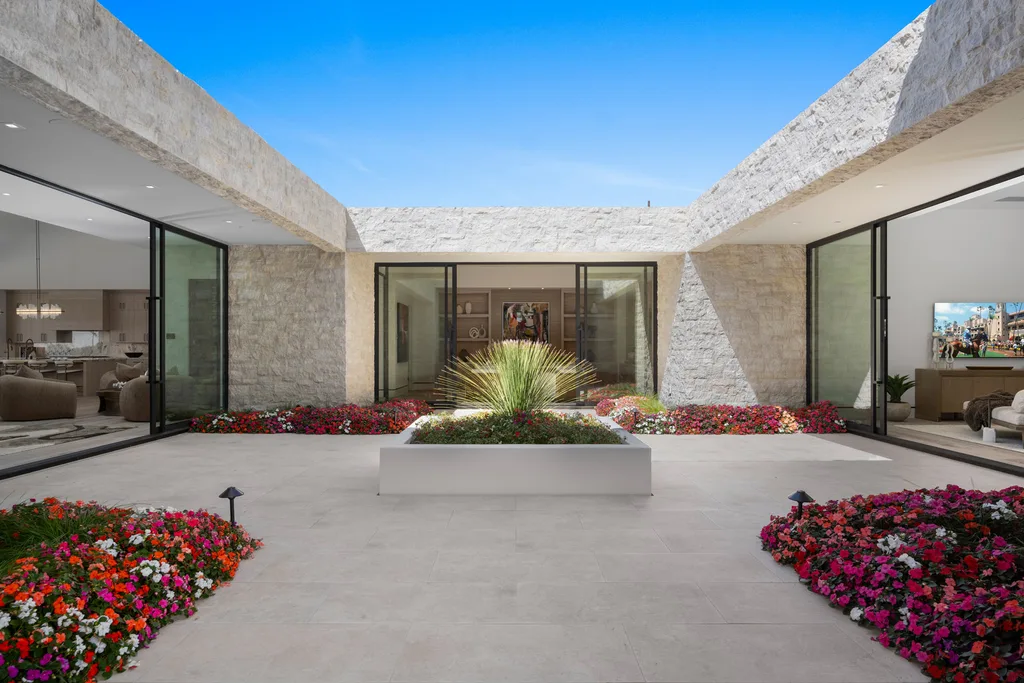
The single biggest factor in how a listing gallery turns out is not the weather or the gear. It is how ready the home is when the photographer arrives. A well-prepped home shoots faster, needs less editing, and simply looks better. Use this checklist the day before.
Start with the whole-home basics
- Turn on every light and replace any dead bulbs. Matching bulb color in a room matters more than you would think.
- Open blinds and curtains for natural light, unless a window faces something unflattering.
- Clear floors of everything that is not furniture: shoes, toys, charging cables, pet bowls, laundry baskets.
- Remove small countertop appliances and clutter so surfaces read clean and open.
- Hide trash cans, hampers and anything on a wheel that does not need to be in frame.
- Tuck away cords and remotes. A single visible power strip can date an otherwise beautiful room.
Room by room
Kitchen
Clear the counters down to one or two deliberate items. Remove magnets, notes and photos from the fridge. Hide the dish rack, sponges and soap bottles. Push bar stools in evenly. A clean, empty counter is what reads as space.
Living and family rooms
Fluff and square the sofa cushions, fold throws, and straighten the rug. Fan nothing. Remove the pile of remotes and the stack of mail. If the TV dominates the room, that is fine, just make sure the screen is off and dust-free.
Bedrooms
Make the beds with the nicest linens in the house, pulled tight. Clear nightstands to a lamp and maybe one book. Close closet doors. Remove anything stored under the bed that peeks out.
Bathrooms
This is where quick wins hide. Clear every counter, hide toothbrushes, soap and products, take down the used towels and either hang fresh ones or none at all, and close the toilet lid every time. A spotless bathroom photographs like a hotel.
Do not forget the exterior
- Pull trash and recycling bins out of sight.
- Move cars out of the driveway and off the frontage if you can.
- Coil and hide hoses, and tidy the porch and entry.
- Sweep walkways, and clear leaves from the pool or patio.
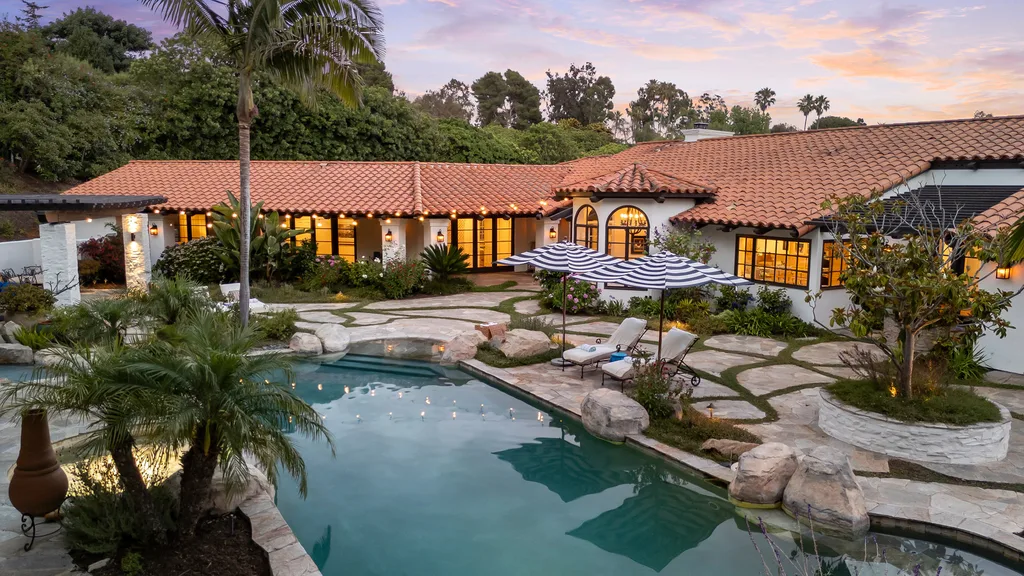
- If twilight or drone is on the plan, make sure the yard, pool and landscaping look their best, since those shots show the whole lot.
A professional photographer will style small details on the day, but they cannot deep-clean a kitchen or declutter a garage. The prep above is what only you can do, and it is what makes the difference.
Timing, pets and people
Plan to have the home fully ready before the scheduled start, not during it. Shoot time is not prep time. Arrange for pets to be crated or out of the house, and put away bowls, beds and toys. Keep people out of the rooms being photographed so the shoot can move room to room without waiting.
If the plan includes twilight photography, confirm the window around sunset in advance, since that light does not wait.
The final walk-through
Right before the photographer arrives, do one slow lap of the house at eye level, as if you were the camera. Look for the small things: a crooked picture, a bath mat out of square, a cord on the floor, a light that is off. Those last two minutes are what separate a good gallery from a great one.
Ready to shoot your listing?
Book professional photography, twilight, drone and 3D coverage for your San Diego listing, and get a gallery that is ready for the MLS.
Want to know what it costs? See how much real estate photography costs in San Diego.