Checklist
Real Estate Photography Prep Checklist for San Diego Sellers
The hour before the photographer arrives decides how the listing looks online. Here is how to get a home photo ready, room by room.
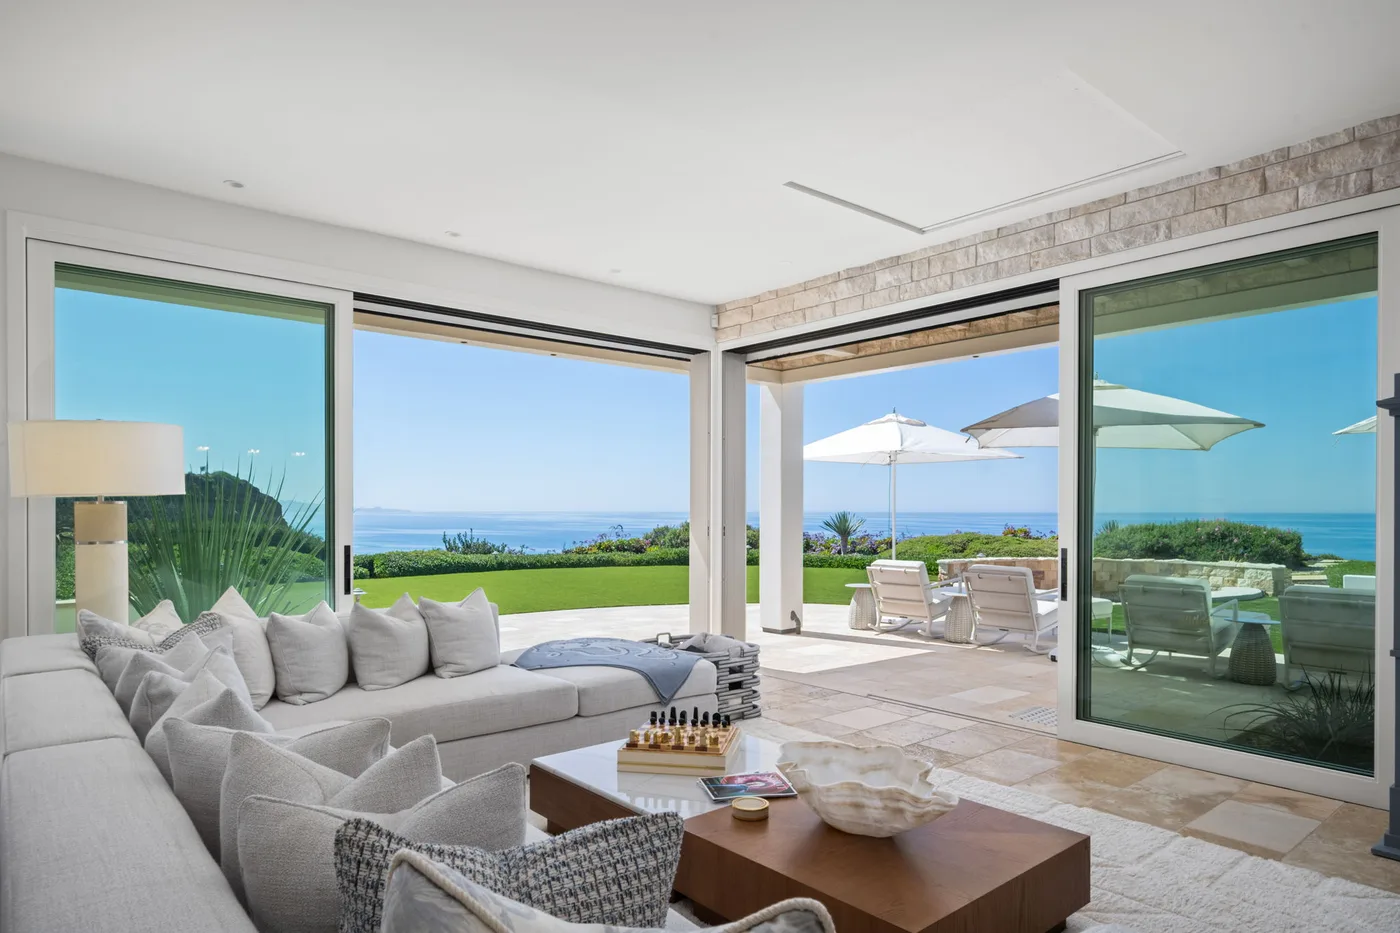
Great real estate photography starts before the camera comes out. A home that is prepped looks dramatically better online than the same home shot cluttered. Run this checklist the day of the shoot and the whole gallery improves.
Whole home, first
- Turn on every light and replace any dead bulbs so color stays consistent.
- Open blinds and curtains for natural light.
- Hide cords, chargers, remotes and visible cables.
- Remove personal photos and anything that identifies the owner.
- Clear floors so rooms look larger.
Kitchen
- Clear the countertops to one or two styled items.
- Remove magnets, notes and towels from appliances.
- Hide the dish rack, soap and sponges.
Living and bedrooms
- Fluff and square the pillows and throws.
- Make every bed fully.
- Clear nightstands and dressers to a clean surface.
Bathrooms
- Remove all personal toiletries from view.
- Hang fresh, matching towels.
- Close toilet lids and clear the counters.
Outside
- Move cars out of the driveway and off the frame.
- Put away hoses, trash bins and yard tools.
- Tidy patios and stage outdoor seating, which matters especially for San Diego indoor outdoor living.
If you can only do one thing: clear every surface. Empty counters and floors do more for a photo than any other single fix.
After prep, book the shoot
Once the home is ready, the rest is pricing and scheduling. See what a San Diego shoot costs in our photography pricing guide, then price your exact home below.
Ready to shoot?
Price a San Diego listing shoot for your square footage in seconds.
Related reading: Twilight photography · Photography vs. videography